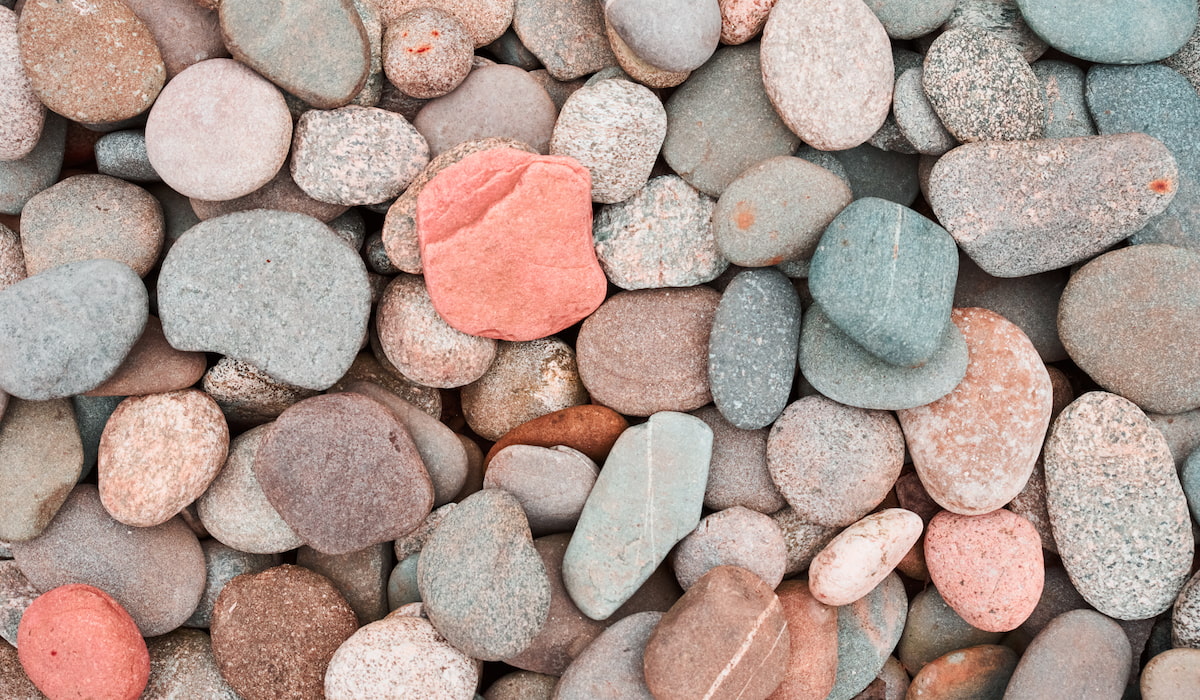
How to Polish a Rock With Toothpaste (Solved!)
As a rock-hound, you may already know that rock tumblers are the number one way to polish rocks into glimmering gems. But does the absence of a rock tumbler mean you cannot shine your rocks? No, it doesn’t.
There are many other items you can polish a rock with besides a rock tumbler. And some of them are readily available in most homes. One such alternative to a rock tumbler is toothpaste.
Not to worry, if you are unsure of how to make your rock shine with toothpaste, we’ve got you covered. The guide below explains how to polish a rock with toothpaste.
Steps to Polishing Your Rock with Toothpaste
Cut the Rock Down to Size
If the rock is too large, you may want to cut it to size before you get to polishing.
To reduce the size of your rock, you can simply use a hammer and a chisel. Place the chisel on the rock at an appropriate spot, then hit it hard with the hammer. The stone should break into two or more pieces if you hit hard enough.
Besides cutting the rock down to size, you can also break off undesired protrusions from your stone using the hammer and chisel.
If you would rather cut the rock with a machine, try using a tile saw. A tile saw will cut the stone with better accuracy than a hammer and chisel. You can even choose to cut the rock in half or multiple slices if desired.
While cutting, ensure you protect yourself by wearing gloves and suitable protective eye gear.
Clean the Rock
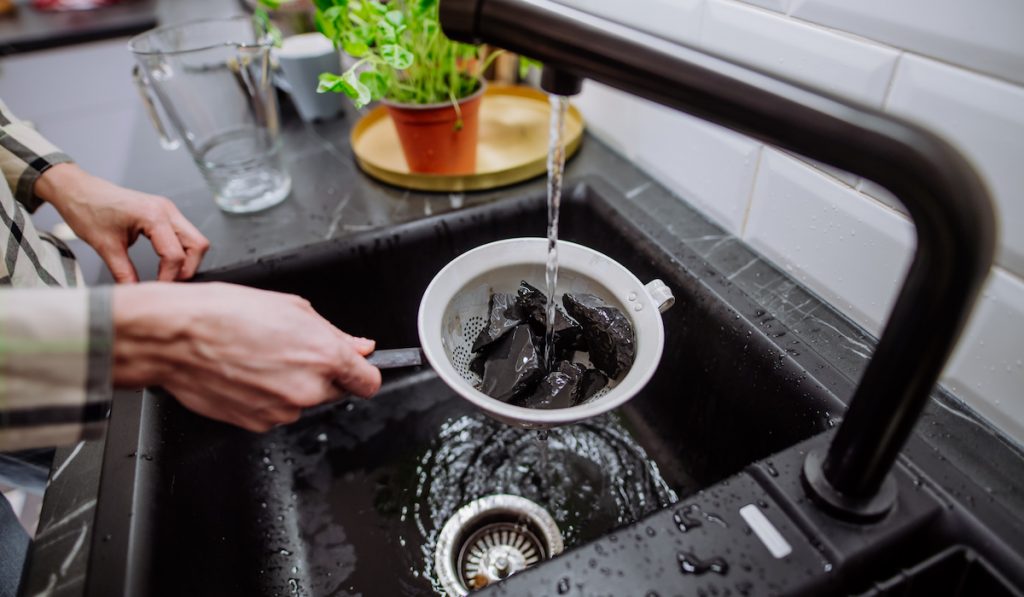
Once you have your rock in the needed size, clean it. If your stone is already the desired size, you may jump to this step.
To clean your rocks, you need to prepare a hot soapy water solution. Pour this solution into a bucket, then place the stones in it.
Once the stones are in the bucket of hot soapy water solution, let them soak for a few hours. Soaking the rocks will loosen the grime on them, making them easier to scrub.
After soaking the rocks long enough, get them out and scrub them with an old toothbrush or a scrubbing brush. If the stone has crevices, you may want to opt for a toothbrush instead. With the toothbrush, you can get into crannies and scrub them.
Grind the Stones

After cleaning the stones and drying them, the next step is to dull the edges and create the desired shape.
While a Dremel grinder is commonly used in grinding stones, the tool you opt for will depend on the size of the rocks.
For small to medium stones, the Dremel grinder should be sufficient. But for larger-sized rocks, an angle grinder might be better. In place of the Dremel tool, you may fit grinding attachments on an electric drill to grind your stones.
When grinding the rocks, work on crannies and sharp edges; grind them down to create an even surface. Doing this makes the sanding process more trouble-free.
During the stone grinding and cutting processes, safety is of utmost importance. Slight mistakes can lead to severe injuries, so it is vital to wear protective gear. To this end, ensure you use welding gloves alongside protective eyewear (such as a welding helmet).
Besides protecting yourself with safety gear, ensure you secure the rocks with a clamp or vice. This way, they will not go flying at someone around while you are trying to grind them.
Sand the Stone
The sanding process helps to further shape and smooth the stones. To do this, get sandpaper or emery cloth with coarse grit, moisten it, then sand the edges of the rocks.
Continue sanding until the edges become rounded and smooth or until you get the desired shape. You may have to rub down with finer grits until you get the desired shape and texture. As you get closer to what you want, keep switching to a finer piece of sandpaper.
Note that if your rock is already smooth enough from the previous steps, do not start with the coarsest sandpaper or emery cloth. Also, if your stone is soft, avoid using the coarsest grit, or you will damage it.
While sanding, rinse the stones routinely to get sanding dust off the surface and out of the crevices.
Polish the Stone
Once the stones have been rubbed down into the right shape and texture, it is time to polish them. This is where the toothpaste comes in.
When polishing a rock with toothpaste, opt for the plain whitening types. Avoid gel and colored toothpaste.
Start by applying the toothpaste to the surface of the stone. Then polish using an old toothbrush or heavy fabric such as denim. As you polish, the rock will begin to shimmer.
Instead of smearing the toothpaste on the rock directly, you may put it on a denim cloth or toothbrush before working it on the surface of the stone.
The chemicals in toothpaste get rid of stains in rocks as they do for our teeth. But if you are hesitant, try out all the steps we have outlined on a small piece of stone before working on your prized pieces.
Final Thoughts
While it is very possible to polish a rock with toothpaste, you should only do it if you are sufficiently skilled.
We say this because rock polishing without a rock tumbler comes with the possibility of damaging a rock’s beauty.
If you follow the steps in this article, you should end up with a beautifully polished rock.