How to Clean River Rocks for Aquarium? (Complete Procedure)
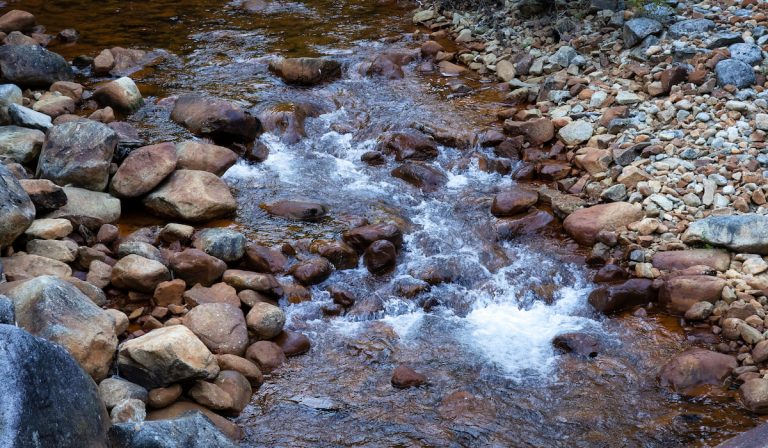
Adding river rocks to aquariums is both fun and important for many reasons. When you add rocks to your aquarium, however, you have to be careful. The wrong type of rock can act as a detriment to both your aquarium fish and water quality.
There are some river rocks that are initially unfit for aquariums, but after a good cleaning process, they become fit to be added to the aquarium.

There are several ways to clean river rocks for aquariums, but the most common, easiest, and equally effective methods are by boiling or bleaching the rocks. It is good practice to boil and bleach the rocks before adding them to the aquarium.
Why do you have to clean river rocks for your aquariums if they are already from an aquatic environment? What types of rocks should you use in the aquarium? This article will answer these questions and much more.
Why You Should Clean River Rocks First
Before you learn how to clean river rocks for your aquarium, you should first know why it is important to clean the rocks. Here are three reasons you should clean river rocks before you use them:
1. Prevention of Pollution and Contamination
Some rocks could be coming from polluted or contaminated rivers. Even if you can’t see them, there are some microplastics and other minute pollutants on river rocks. Some rivers close to factories may also contain traces of toxins.
Introducing the rocks directly from the river into your aquarium can be harmful to your aquarium fish that are not used to the harsh environment in the wild.
Before bringing river rocks for use in the aquarium, you need to clean them to remove all these pollutants and contaminants.
2. Prevention of Algae Bloom
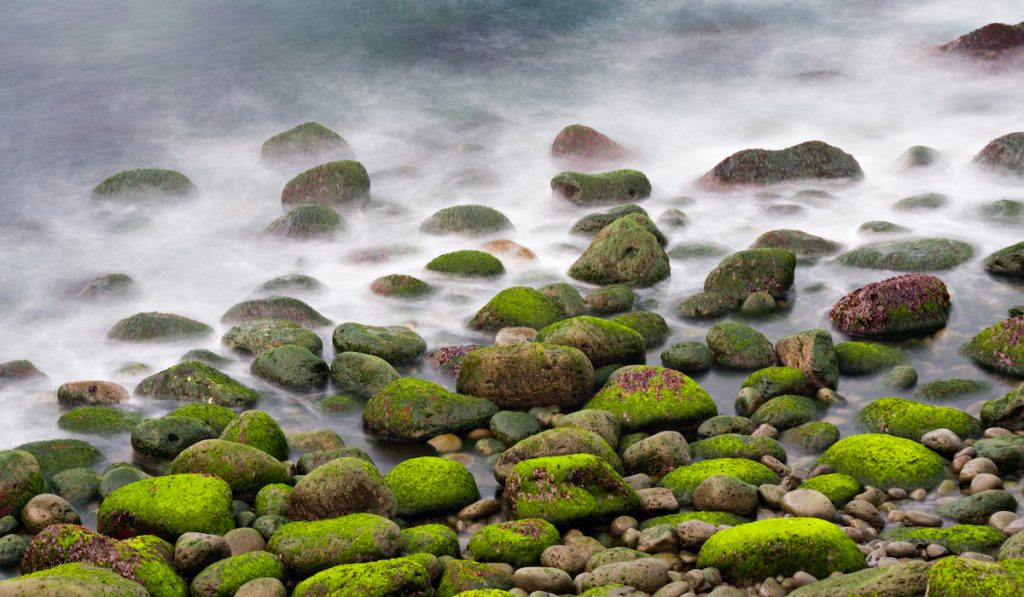
Many river rocks have algae colonies growing on them. You may not see the algae at first, but after a while in the aquarium, you will notice that more and more rocks are becoming green and your aquarium is looking less attractive. You will also have to clean your aquarium more often than you used to.
You need to clean river rocks to kill algae and other microbes that are growing on them.
3. Making the Rocks Safe for Your Aquarium Fish
Many rocks are rich in calcium carbonate. This compound is a basic (or alkaline) compound that can increase the pH of your aquarium water. If you are not careful, adding river rocks into the aquarium without first testing or cleaning them can kill your slightly acid-loving fish.
You need to clean the rocks and make sure that they are safe for your aquarium fish before you add them to the aquarium.
How to Clean River Rocks for an Aquarium
Now that you know various reasons why you should clean river rocks before you use them in an aquarium, it is time to clean the rocks. Here are the steps involved in cleaning river rocks:
1. Scrub the Rocks
You should soak the rocks in a solution of any anti-bacterial soap of your choice and scrub them thoroughly with a hard brush.
Consider wearing gloves to protect your hands from the brush and rocks. Scrub each river rock and remove grits and cracked parts. After scrubbing a rock, place it in a different container.
2. Rinse and Soak the Rocks
When each rock is scrubbed and in a new container, rinse them with running water and then soak them in water. Pour 1 cup of non-iodized saltwater for each gallon of water into the container.
This salt is best used for river rocks as creatures (such as algae and other microbes) living in rivers are not used to a salty environment. Soak the rocks for 12-24 hours.
3. Remove and Rinse the Rocks
After soaking the rocks in saltwater, remove them and rinse them with running water. Make sure that every rock is carefully rinsed and no trace of salt is remaining in the rocks.
Now that you have rinsed the rocks, it is time for the main part of cleaning the river rocks. People either bleach or boil river rocks, but I recommend bleaching and boiling the rocks so that you can make sure to remove traces of bleach that may harm your fish.
4. Bleach the Rocks

Prepare a solution made of 1-part bleach to 9-10 part water. Make sure that the solution is enough to cover the rocks and no rock has any surface above the solution.
Pour the rocks into the solution and let them soak in the solution for 30 minutes (at least). After 30 minutes, remove the rocks from the solution, rinse them thoroughly, and move on to the next step.
5. Boil the Rocks
Place the rocks in an aluminum pot and fill it with water. If all the rocks cannot enter the pot at once, you can separate and boil them in batches. Give the rocks a hard boil for 30 or more minutes. Make sure that you do not add rocks that have cracks into the pot as air pockets in rocks can cause an explosion.
If most of your rocks have a lot of air pockets (as many river rocks do), boil water in a pot and pour it on the rocks (they should be fully submerged in the water). Allow the rocks to stay in the water until the water temperature drops to normal. Rinse the rocks afterward.
Now you have successfully cleaned the river rocks. Can you add them to your aquarium right away? Hold on! There are some extra steps to take (to make sure that they are now safe for your aquarium).
Extra Steps to Prepare River Rocks Before Placing Them in the Aquarium
Before you add the rocks to your aquarium, make sure that they are safe with these three simple steps:
1. Observe the Rocks in Soaked Water for 4-5 Days
After boiling the rocks in the water, leave them soaked for 4-5 days in the water (you should remove them from the pot and use a transparent container preferably).
On the fourth day after soaking, check the water for traces of algae or any new growth. If there are algae growing on the rocks (you will know when you see more green spots appearing), it means that the rocks are not clean enough.
If the rocks are not clean enough, move on to step 2. If, however, you cannot find algae growing on the rocks, skip to step 3.
2. Re-Clean the Rocks (If They Are Not Clean Enough)
If the rocks are not clean enough and you find algae growing on them, clean them again (refer to the steps on how to clean the rocks above).
Thoroughly scrub them and allow them to sit in bleach or boiling water for more than 30 minutes.
3. Rinse the Rocks (To Place Them in the Aquarium)
Since the rocks are clean enough, they are ready to be added to the aquarium. All you have to do is rinse them with boiled water or any sterilized water. You are good to go.
Congratulations! Your rocks are ready to beautify your aquarium.

Related Questions and Answers
1. Can You Bleach or Boil Rocks Only?
If you do not want to bleach and boil the river rocks, you can either bleach or boil them (i.e. use one step instead of both). It is advisable, however, to always clean your river rocks by bleaching and boiling them.
2. How Do You Place Rocks Into An Aquarium?
You should drain water from the aquarium before you add the rocks. Do not throw the rocks into the aquarium as you can damage the glass. Carefully place the rocks on the aquarium floor.
Some active aquarium fishes can scatter the arrangement of your rocks, so you can use aquarium-safe silicone glue to glue your rocks to their position.
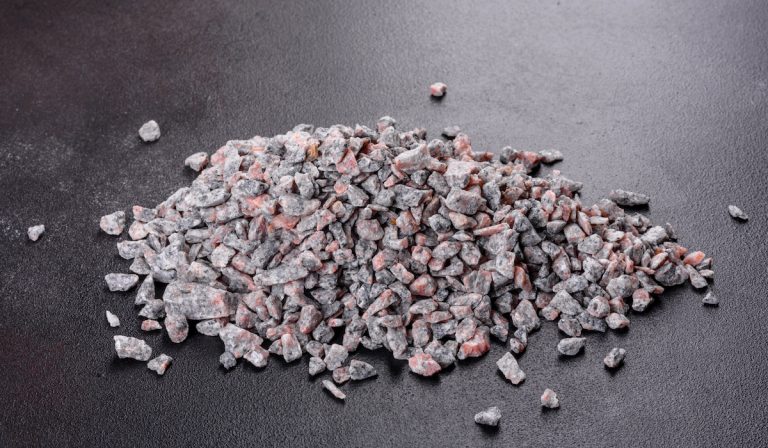
3. Can You Use Grits or Cracked River Rocks in the Aquarium?
Unless you bought the grits from a pet or aquarium shop, you should not use grits in your aquarium. Grits from rivers can be more difficult to clean than large rocks and they will change the water quality of your aquarium rapidly.
As for cracked rocks, do not use them because when they break, they release calcium carbonate that can increase your water pH.
4. How Do You Test River Rocks for Aquariums?
As discussed earlier in this article, you can test your river rocks by soaking them in water for a few days. If that process is too long, pour vinegar on the rocks.
If you see foam on the rocks, it means that there is calcium carbonate in the rocks and you should not use such rocks in your aquarium without properly cleaning them.
5. Can You Use Shells and Corals in Aquariums?
The major disadvantage of using shells and corals in aquariums is that they can increase the water pH quickly. If you cannot monitor the aquarium pH regularly, you should not use corals or shells.
Some people, however, burn shells before using them in aquariums. For example, oyster shells have been proven to maintain a neutral water pH when they are properly burnt and rinsed before using.
Final Thoughts
You should clean your river rocks thoroughly before adding them to the aquarium. They need to be scrubbed, bleached, and boiled to make them safe for your aquarium fish.
Also, when putting them in the aquarium, remember to place them safely.
Enjoy the nice view of your aquarium.
Resources
- https://www.hunker.com/12254278/how-to-clean-river-rocks
- https://aquariumtidings.com/adding-rocks-to-aquarium
- https://www.myaquariumclub.com/has-anyone-use-river-rock-in-there-tanks
- https://www.cichlid-forum.com/threads/how-to-clean-river-rock
- https://www.fishlore.com/aquariumfishforum/threads/how-to-sterilize-river-rocks