Types of Rock Polish
What is Rock Polish?
Rock polish is the compound media used in polishing tumblers to grind down rough edges and smoothen stone surfaces. Rock polish can alternatively refer to the final polish used to shine the stones after earlier on using coarser grits to soften the rock surface.
Polishing rocks (lapidary) has been adopted by many as a rewarding and satisfactory hobby, and it is fast gaining popularity. There are several ways to do rock polishing, but before we get to polish the rocks and choose the method to use, we need to know a few things.
Are all rocks suitable for polishing? What are the constraints? Let’s have a detailed look below.

Can You Polish All Rocks?
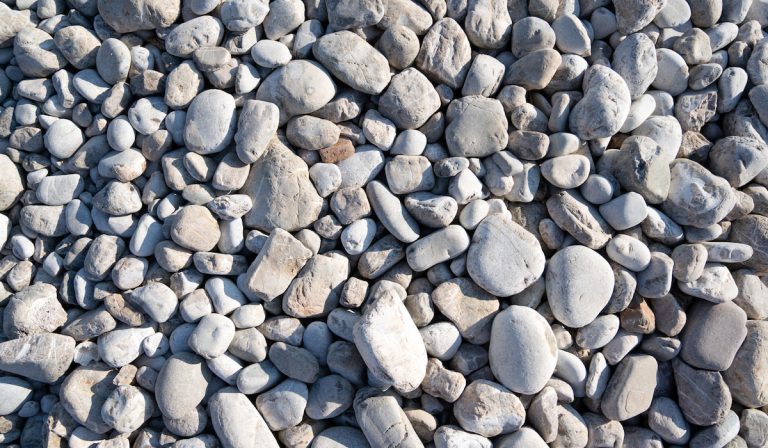
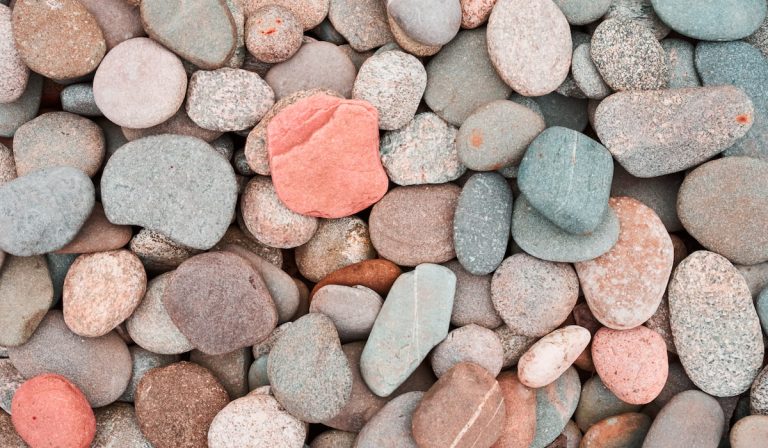
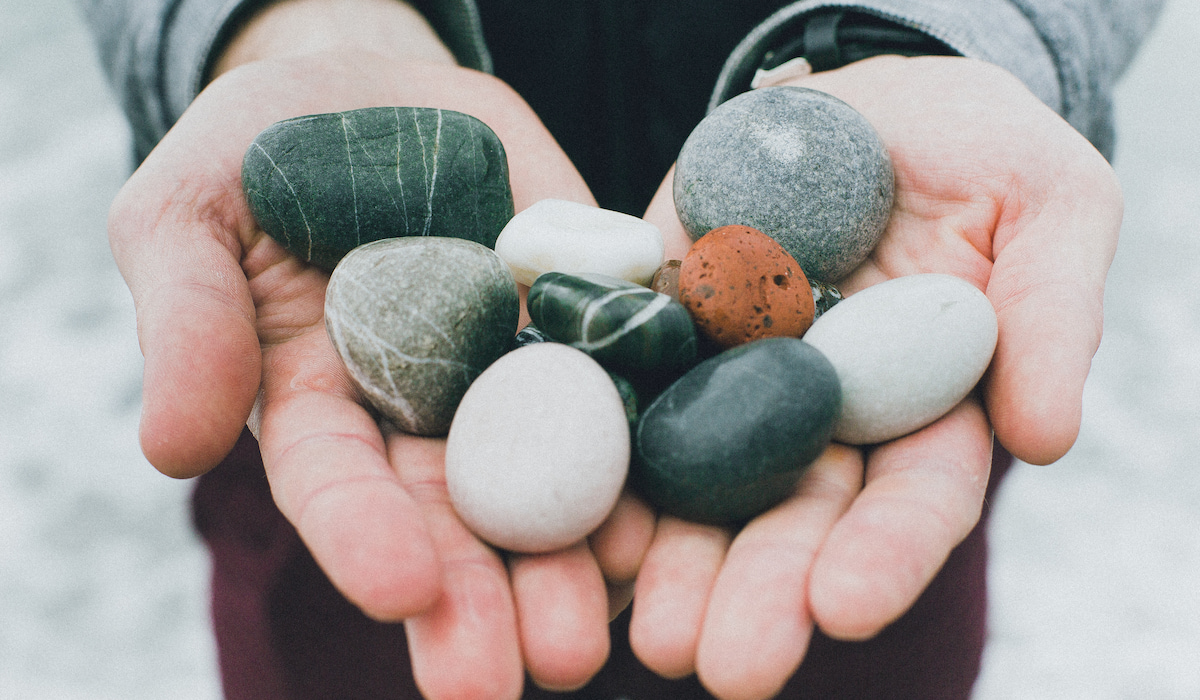
You can polish all rocks, no matter the texture, whether hard or soft. However, it is best to polish rock materials of the same texture together, and not blend soft rocks such as marble with hard rocks like agate and quartz.
Generally, softer rocks, like calcium-based marbles, are much easier to polish but are less durable compared to hard rocks because the polish will chip and dull off over time.
However, hard rocks like silica-based agate, obsidian, and opal may take longer to polish, but they always retain their polish for extended periods.
However, when polishing rocks, always ensure to completely wash off the old grit when changing to a finer grit to avoid messing up the process. Even a small residue left can mess up the next stage. This is especially important during the last polishing stage, which ought to be done specifically on a felt mat, not on a glass if you are doing it manually or on the metal plate of the lap.
How to Polish Rocks
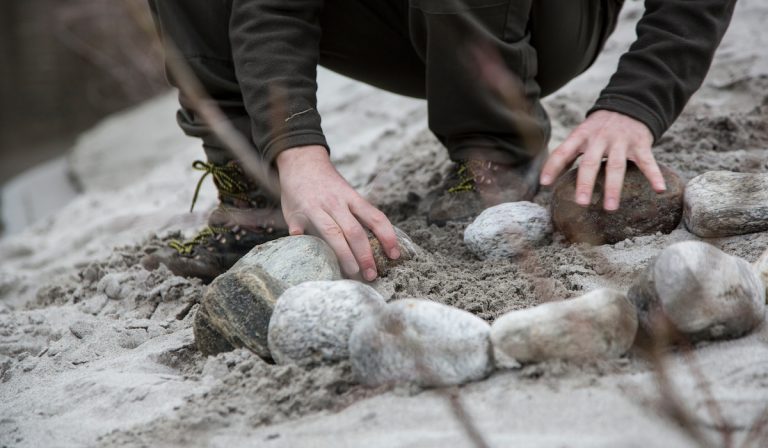
Lapidary is a hobby that pays with elegant results. Polishing can either be done manually with minimal equipment like sandpaper or by use of a rock tumbler capable of polishing multiple rocks at a time.
1. Manual Polishing
Polishing rocks manually entails the use of sandpaper to make the polish soft. However, before you jump on to trying to soften rocks manually, here are a few guidelines and factors to consider.
Choose the right rock
Soft rocks with smoother surfaces are easier to polish by hand than hard rocks. Soft rocks are easily distinguished from other rocks because they have a chalky scratch when scratched with another rock.
Although hard rocks may take longer to polish by hand, they give the best shine compared to soft rocks.
Wash the rock
Thoroughly wash the rock with soap and water, and scrub off any stubborn dirt, then let it dry.
Shape the rock
To achieve a rounder shape, you might need the help of a chisel and a hammer, or you may rub the stone on a hard slab to crop out any undesired rock section like protruding parts. Remember to wear safety gear for maximum protection against chipped rocks.
Shape and soften with sandpaper
Rough grade sandpapers, like 50 grade, help to further shape the stone by leveling down and smoothing any protrusions or bumps. Rough grades may, however, leave scratches on the rock, and this is where the softer grade sandpapers like 150 grade are needed.
If minor scratches are present, you will need to concentrate on them with softer grade sandpapers like 300 – 600 grade, which will make your stones smoother, erasing all the scratches.
Polish using leather
After sanding, polish your rock with leather and tube polish. Use the leather to gently rub the final polish around the stone, giving your stone a glossy, and lustrous shine. Remember to avoid colored polish, since it may stain the stone.
2. Using Rock Tumblers
Rock tumblers are more preferred for rock polishing because they give rocks a more defined shape, shine, and smoother surfaces, and they can effectively polish multiple rocks at once. To use it, therefore, you need to acquire one that suits your needs, and purchase grit designed for rock polishing, most preferably a course one (60-90 grit), medium (180-220 grit), and a fine (400-500 grit) grind.
Before polishing them, you should sort them to ensure that they are of uniform hardness and shape. The harder rocks are likely to scratch the softer rocks as they wear down, and the rounder rocks will polish faster than the jagged ones.
You should therefore ensure that they are uniform. You should, however, mix them in various sizes to achieve a more uniform shaping.
After sorting them, you should wash them and scrub off any stubborn stains. When the tumbler is halfway to three-quarters full of sorted rocks, take the rocks out, weigh them, and toss them back into the tumbler.

4 Step Tumbling Process
The real tumbler polishing is a 4 step process done after adequate preparation. The first three steps progressively use a coarse to a finer grit compound, such as silicon carbide, and the last step uses a finer polishing compound such as aluminum oxide.
For the first three stages, silicon carbide is most preferred because it has a hardness of 9 on the Mohs hardness scale. This is harder than most stones, meaning that the grit won’t wear down.
The smaller grit numbers of polish agents mean that they are required for rougher particles. More abrasion might be needed for the first stage, while a finer grit is needed for the latter stage for polishing.
1. Coarse grit stage
This stage utilizes a grit size of 60-90 to round all the rough edges of the stones, although some people might prefer specific grit sizes.
After filling the tumbler with water reaching the bottom of the top rocks, seal the tumbler and turn it on for 24 hours, then check the progress. Do this for about 3-7 days, daily checking on the progress to determine if they are ready for the next step.
This stage produces the most sediments, with the largest amount of rock getting ground away by the coarse grit. Therefore, thoroughly wash your rocks and tumbler to be ready for the next stage.
2. Medium Grit Stage
For this stage, the silicon carbide needed should be 180-220 grit. It helps in further shaping and smoothing the stone face surface. Once you place the rocks in the tumbler, fill it with water till it reaches the bottom of the topmost rocks, add the medium grit, seal it, and then start the machine.
Run the tumbler for about 4-5 days, constantly checking them every 24 hours to determine if they are ready for the next stage. Remember to thoroughly wash out the residue in the tumbler and on the rocks before starting the next phase.
3. Fine Grit Stage
This stage is similar to the previous stages, only that it uses fine silicon carbide with a grit of approximately 500, essential for smoothing the rock surfaces. However, your rocks may lack polish and shine.
Since this is the last stage of using grit, do not limit the time the rocks stay in the tumbler till you are satisfied with their shape. Therefore, you may occasionally need to clean off a rock or two to check on their shine when checking on the rocks.
When satisfied, thoroughly clean the tumbler to wash off any previous residue as it can affect future performance.
4. Rock Polish Stage
This is the final polishing stage. This is the most critical stage as it is the one meant to groom the final product with rock polishing compounds. The most popular polishes include;
- Aluminum oxide
- Cerium oxide
- Chrome oxide
- Tripoli
- Tin oxide
- Titanium oxide
Types of Rock Polish
1. Aluminum oxide
Aluminum oxide is the most popular rock polish for stage 4 polishing. Since there are different types of aluminum oxide in the market, it is best to choose a premium brand with proper macron size and enough surface area for proper polishing.
Since it is affordable, aluminum oxide is a cost-effective method for great results.
2. Cerium Oxide
Cerium oxide is a yellowish-orangy rock polish that works best with hard rock varieties such as agate, quartz, and jasper. Furthermore, it works well as a polish for petrified wood, obsidian, coral, and man-made glasses like goldstone. Cerium works best for tumble polishing hard rock materials like labradorite, sunstone, amazonite, and moonstone.
Cerium oxide was most popular before aluminum oxide took over the markets. However, since cerium is a rare earth element, its scarcity is driving the cost up in a sky-rocketing trend. However, before the price shooting, cerium oxide was the most popular for rock tumbling.
3. Chrome Oxide
Also known as chromium oxide, chrome oxide is a bright green polish that works well for tough rock materials like tourmaline, jade, and garnet. It is also most appropriate for compound rocks such as rhodonite, unakite, and lazuli. However, it is costly to acquire.
4. Tin Oxide
Tin oxide is a white polish great for polishing varieties of jasper, quartz, and agate. Just like cerium oxide, tin oxide was also famous in the rock polishing industry before aluminum oxide took over. Tin oxide also works exceptionally well with volcanic glass such as obsidian, and on man-made glass too.
Most people use tin oxide to polish soft materials like calcite, malachite, and rhodochrosite. However, unlike before, tin oxide is not widely used because it is close to four times more costly compared to average aluminum oxide.
5. Tripoli
Tripoli is a residual material produced by weathering of certain siliceous limestones. It is primarily composed of diatoms, radiolarians, and other siliceous materials in such rocks.
Although it is cheap, it can only be accepted in rock tumbling as a pre-polish after grinding in silicon carbide, or when a low-quality finish is acceptable.
However, Tripoli is not commonly used in rock tumbling, but is good for woodwork, because it has a hardness of about 7. It works best after the first thorough application of varnish, as Tripoli smooths the surface of the varnish.
6. Titanium Oxide
Titanium oxide perfectly works well on a variety of materials, more so as a rock polish. Titanium oxide isn’t prohibitively expensive, however, aluminum oxide polishes produce better shines.
Other Post Polish Steps
At times, even after completing the 4-step tumbling process, some rocks might not get the desired polish and brilliance.
If you are not satisfied you can use leather and polish to add shine. Using the leather, gently rub the polish on the rock surface, ensuring to cover the entire rock surface. This will undoubtedly add much-needed brilliance.
You can alternatively burnish the stones with soapy water. After mixing your rocks with ivory soap shavings, add water till they are submerged. After a few hours, the soapy coat on the rocks will make them glossier.
Amount of Grit and Polish to Use
Although many people think that more grit performs a better job, they only end up wasting the polish by overusing it. For the first and second steps on the 4 step tumbling process, it is recommended to use 2 tablespoons of the grit, 1 tablespoon for step 3, and 1 ½ tablespoons when polishing in step 4.
Many people might, however, give their recommendations on how best they can measure grit. With more experience, different people develop their specific preferences on how much grit they would apply, but this greatly varies depending on the types of rocks being tumbled.
Conclusion
When choosing the best rock polish for your rocks, it is best to consider the type of rock being polished before settling on a rock polish to use. Some rock polishes are meant for hard rocks while others work best with soft rocks.
Resources:
- https://rocktumbler.com/questions/what-polish-should-i-use
- https://pollyplastics.com/blogs/news/rock-polish-types-and-usage
- http://jersey.uoregon.edu/~mstrick/AskGeoMan/geoQuerry55
- https://www.wikihow.com/Polish-Rocks
- https://rocktumbler.com/tips/uses-for-tumbled-stones
- https://www.amazon.com/aluminum-oxide-polish/s?k=aluminum+oxide+polish
- https://www.amazon.com/Cerium-Oxide-Glass-Polishing-Compound/dp/B009XUAA4Y